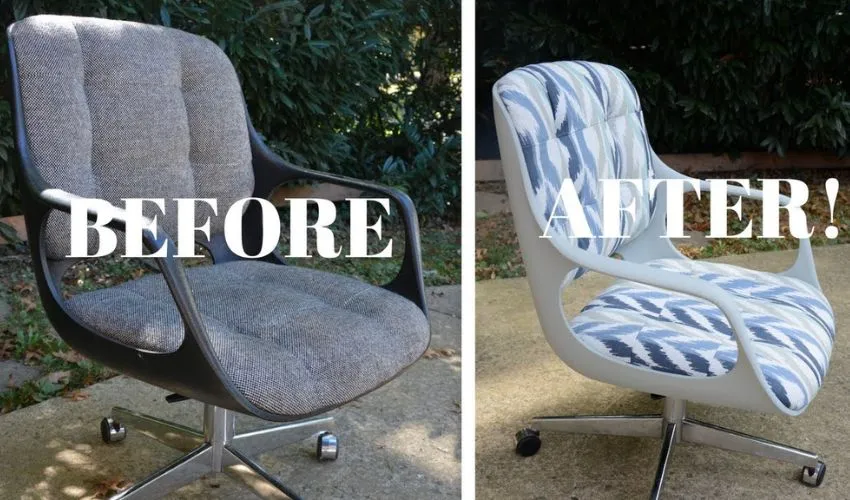
Whether you have an antique chair with torn-out fabric or an outdated piece with saggy cushions, reupholstering your furnishings is always an interesting way to flaunt your creativity. Also, it is a cost-effective way to transform the whole style and comfort while saving your expense of shopping for a new one.
If your chair’s structure is in fine condition but its appearance is low-grade, reupholstering it would be the best choice. If you want to reupholster your chair by yourself rather than hiring furniture upholstery experts or purchasing a new piece, you are at the right place. In this guide by Upholstery pro, you’ll learn about the simple DIY procedure to reupholster a chair.
Before You Begin
 Before you start with your reupholstery project for restoration purposes, it’s a good idea to remove the old fabric and chair cushions to determine the fabric size and pattern. You can measure all the cord lengths and fabric pieces to get the accurate size details to purchase new upholstery fabric.
What Tools Do You Need?
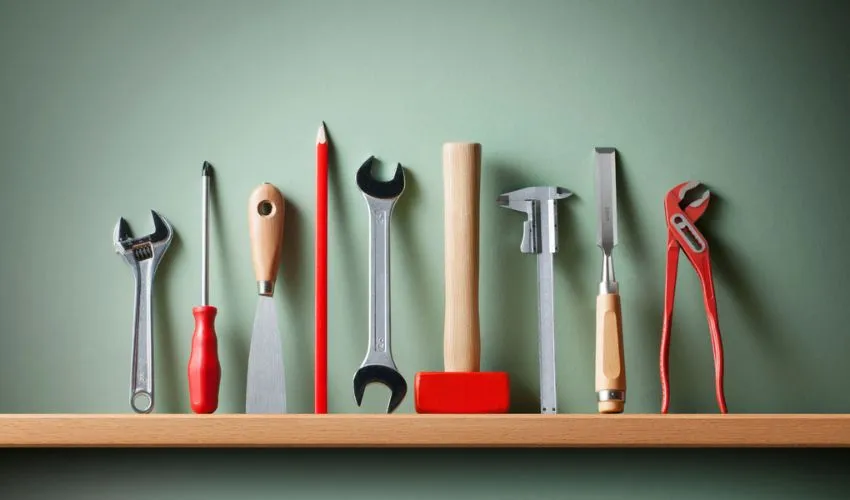 Let’s first gather the material required for reupholstering a chair.
- Drill Or Screwdriver
- Staple Remover
- Staple Gun
- Handsaw
- Straight Staple Pins
- Electric knife
- Pen or marker
- Chalk
- Scissors
- Sewing Machine
- Welt cord (optional)
Keenly Observe Your Chair
 The first step to reupholstering your old office chair is to inspect the entire condition of your chair and check how your chair is damaged. Is the damage repairable or not? Look at the wear & tear and cuts & Cracks that you need to recover.
After you properly analyze the condition of your chairs to determine the damage extent, note if the damage is repairable & costs less than buying a new one then start with the reupholstering process.
Start By Removing Old Chair Covers & Seating
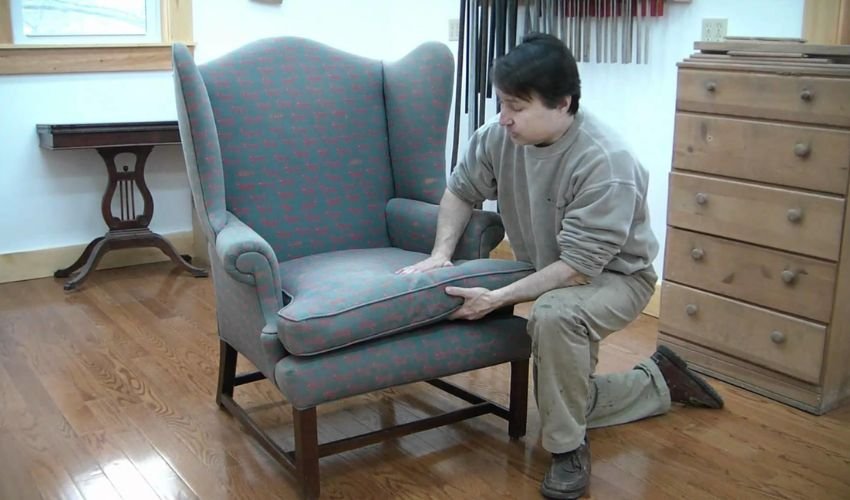
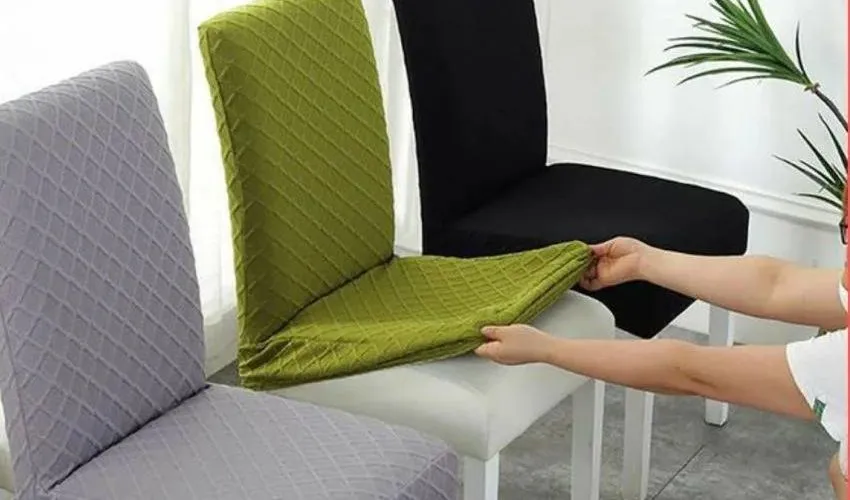 When designers manufacture different types of chairs like Dining Chairs, Relax Chairs, Office Chairs etc., fabric covers are the last thing attached to your furnishings but, during reupholstery, it should be the first thing to remove. Turn your chair upside down & remove the bottom cover.
After the removal of fabric covers, begin with removing seating. To take off the seat from framing, you’ll need a screwdriver to unscrew it from the chair’s body. You can fix any potential damage with infill wood putty materials, painting, refinishing, and tightening joints. This step will ensure the smooth and secure finishing of your upholstery work.
Replace The Batting & Center Your Pattern
 So, now you have removed the bottom cover and staples, it’s time to start removing the old padding of the chair. If the existing seat padding is in a bad state and you want to soften the chair edges, you can add a new foam batting. However, this step can be skipped when the fabric doesn’t have any pattern and the batting is in good condition.
Cut at least 4-inch larger pieces of batting and staple them with the help of a staple gun from one side. Then staple the other end after wrapping it around the cushion. If this new seating has a pattern, you can add the new material on the top. Now press it around the seat parameters, center the patterns, and seal corners with staple pins.
Select A New Fabric For Your Chair
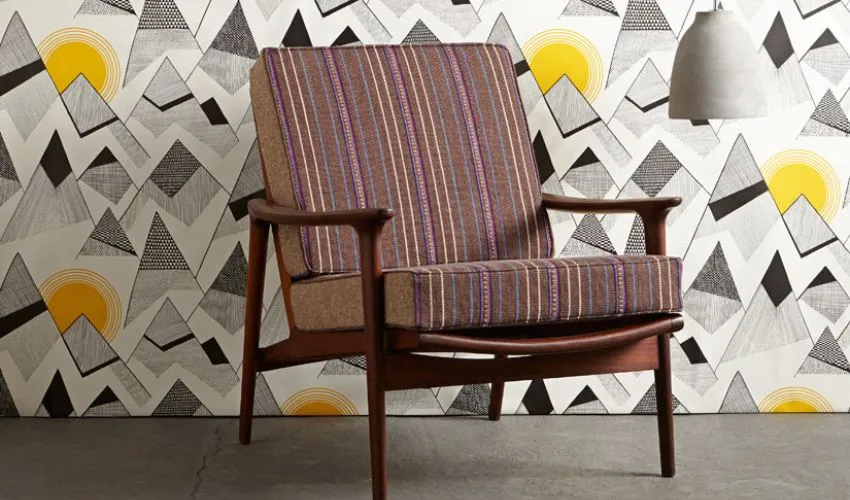
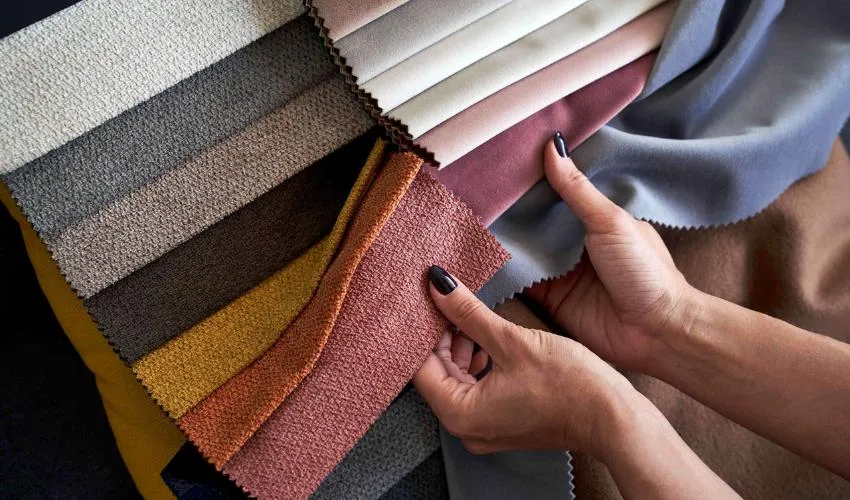 Now, when the old pieces are removed, you must select a new fabric to reupholster your chairs with. The selection of new fabric for chairs becomes easier when you have all the old pieces available to take measurements. Make sure that the fabric should be stylish, durable, reliable, and stain-resistant.
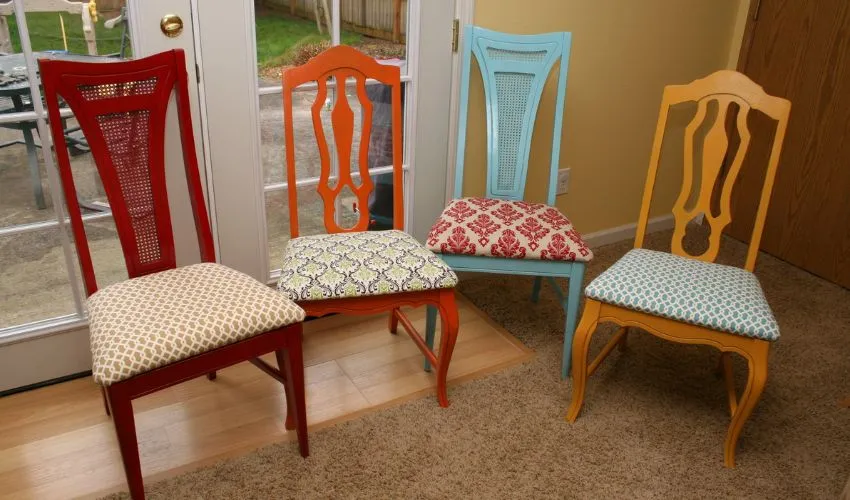
Start taking the measurements of the fabric according to the old fabric that you have removed. Note to measure the fabric to 4-5 inches extra to perfectly cover your chair and write down measurement details on paper. The fabric you choose must blend with the other furniture assortment and your reupholstered chair should complement the overall decor.
Cut The Fabric & Attach To Your Chair
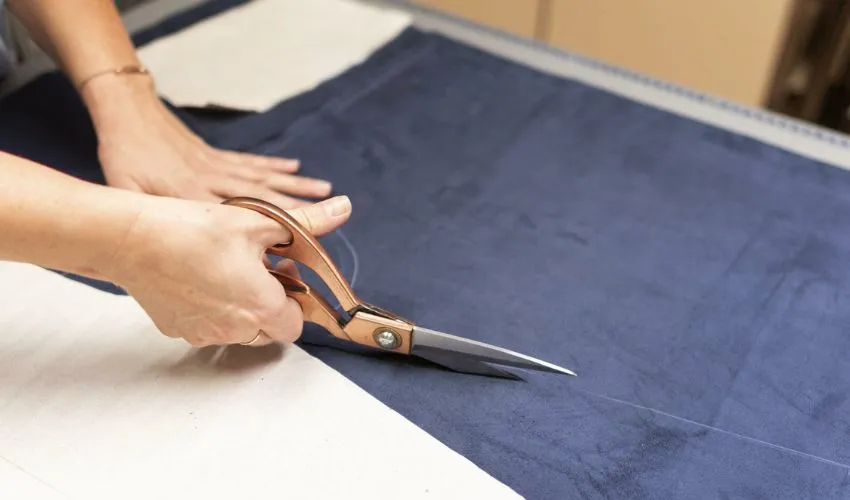 So, you have done measuring, now’s the time to cut your new fabric. You can get expert guides about choosing upholstery fabric for chairs. Line up the fabric corners to remove the creases to get the dimensions right. To trace the exact pattern of your chairs, you can mark the fabric using chalk.
Now it’s time to cut the fabric according to the length and width details. Use a sharp scissor to cut the piece and sew the edges using a sewing machine to prevent fraying fibers. Now that you’ve got the perfect upholstery fit for your chairs, attach it. Begin attaching from the top edge and follow the down edge while stapling the fabric at its place. Work on one side at a time and keep pulling the fabric for a smooth and bumps-free look.
Finish It By Reattaching The Dust Cover
 When attaching the chair upholstery, you must remember to align all the pieces to maintain the look and shape of your chair. Be very keen while attaching all the pieces in order and removing all the gaps, ridges, and bumps. After covering your chair with the new fabric now, you should reattach the dust cover to your chair.
The dust cover must be attached properly so it can cover all the staples under it and offer a clean & stylish look to your chair. A properly attached dust cover will give a finishing look to your chair. Additionally, you can add a welt cord around the seat edges for a decorative touch. Place a seat over the chair frame, align the screw holes, and tighten or fix it firmly with staples.
Conclusion
Ripped, dated, or stained upholstery fabrics of your chairs look unappealing and can be updated through a detailed upholstery process. Reupholstering any of your damaged furniture pieces is comparatively easy and more cost effective than buying a new one particularly when its structure and supporting materials are in good shape and condition.
To begin with, you’ll need essential tools and basic reupholstery knowledge. Start by removing the fabric material and seating and replacing the batting. Then cut the new seat covers, attach the fabric to the seating, complete the corners, add a welt cord, and reattach the seat. Following the easy steps in this comprehensive guide will lead you to design an outstanding piece with a fabulous and stunning look.