Dining chairs take a lot of daily wear — spills, stains, pet paws, and constant sitting eventually leave the fabric looking dull and tired. The good news? Changing your dining chair upholstery is one of the easiest DIY upgrades you can do at home. You don’t need advanced woodworking skills or expensive tools. If you can use a staple gun, you can reupholster a chair.
Whether you’re updating old hand-me-down chairs or giving your current dining set a fresh look, this guide walks you through every step clearly and simply.
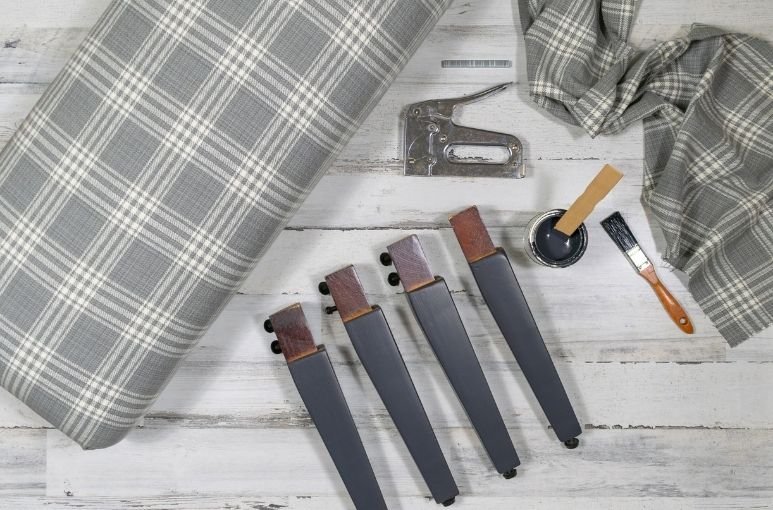
What You Need Before Starting
Gather your supplies so your workflow stays smooth and uninterrupted. You don’t need a workshop; even a dining table or kitchen counter works as a temporary workspace.
Tools & Supplies:
- Screwdriver
- Staple remover or flathead screwdriver
- Needle-nose pliers
- Staple gun + staples
- Sharp scissors or fabric shears
- Foam (2″–3″ thickness for dining chairs)
- Upholstery batting
- Upholstery fabric (½ yard per chair on average)
- Spray adhesive (optional but helpful)
- Marker or temporary fabric pen
Pro Tip:
Choose high-quality, durable upholstery fabric. Dining chairs get daily use, so sturdy fabric prevents early sagging, pilling, or fading.
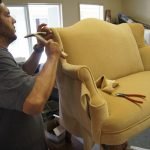
Step 1: Remove the Seat Cushion
Flip the chair over and unscrew the seat pad. Keep the screws in a safe place.
Once the seat is off, place it on your work surface and inspect it. If the frame looks loose or cracked, now is the perfect time to tighten or repair it.
Step 2: Remove Old Fabric & Staples
This part takes patience, but it’s crucial for a smooth finish later.
- Use your staple remover or a flathead screwdriver to lift staples
- Pull them out with pliers
- Remove the old fabric gently
- Save the fabric piece — you’ll use it as a cutting template
If the foam underneath looks flat, discolored, or crumbles when touched, replace it.
Step 3: Replace the Foam (If Needed)
Place the wooden seat base on your new foam and trace the shape.
Cut it using:
- Scissors for thinner foam
- A serrated knife for thicker foam
- An electric carving knife for the cleanest, fastest cut (an upholsterer’s trick!)
Attach the foam to the seat base using spray adhesive to prevent shifting when you stretch the fabric later.
Step 4: Add Batting for a Smooth Finish
Lay the seat upside-down on your batting and pull the batting up and around the edges.
Staple once at the center of each side, then work outward.
Batting helps:
- Smooth the sharp edges of the foam
- Give the cushion a rounded, soft look
- Prevent wrinkles from showing through the fabric
Trim the excess batting neatly once secured.
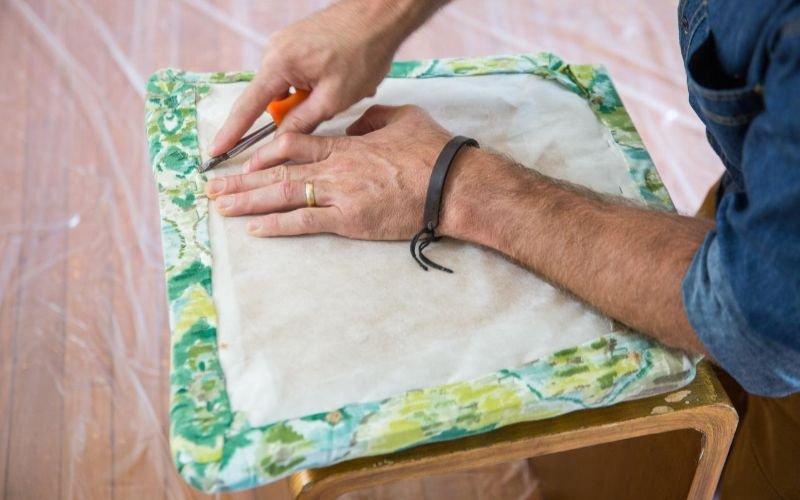
Step 5: Cut and Position Your New Fabric
Place your new fabric face-down.
Use the old fabric as a template or leave at least 4–6 inches extra around each side.
For patterned fabric:
Make sure the design is centered and the stripes or motifs run straight — this small step dramatically improves the final look.
Step 6: Attach the New Upholstery Fabric
Pull the fabric up and over the back of the seat, stapling just like you did with the batting.
- Start with one staple at the center of each side
- Flip the cushion over occasionally to check the surface
- Keep tension consistent (tight but not overstretched)
Handling the Corners
Corners are where technique matters most. You can do:
Pleated corners (easiest):
- Pull the center of the corner toward the middle → staple
- Fold one side over → staple
- Fold the other side over → staple
Rounded corners:
Gently stretch the fabric and make small, controlled folds so everything sits flat.
Trim the extra fabric once you’re happy with the look.
Step 7: Add a Dust Cover (Optional)
If you want a professional finish, staple a thin black dust cloth to the bottom.
This hides the staples and makes the chair look neat from every angle.
Step 8: Reattach the Seat to the Chair
Use the original screws to secure the seat back onto the chair frame.
Test it by sitting, shifting your weight, and checking stability.
Helpful Tips for First-Time DIYers
- Your first chair will take the longest — every chair after that is much faster.
- Always cut fabric a bit larger than needed; trimming is easy, and shortages are not fixable.
- Smooth the fabric as you go — don’t wait until the end to check.
- Start with one practice chair if you’re nervous.
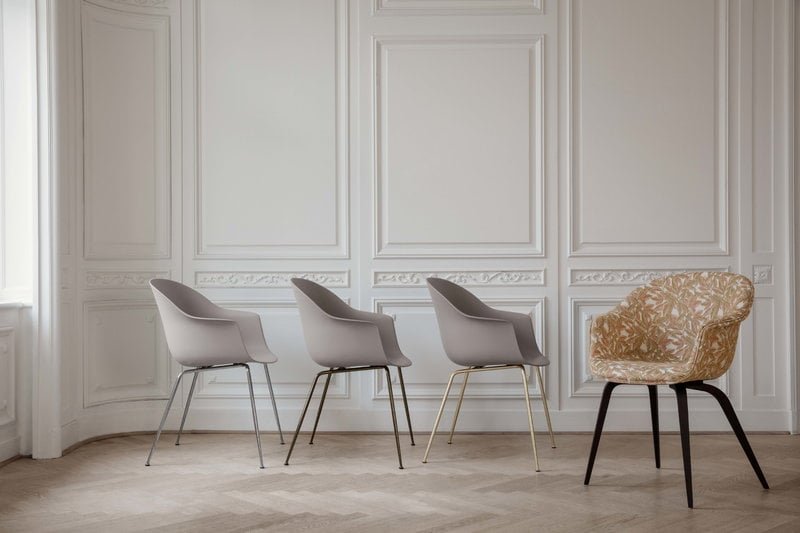
Why Reupholstering Is Worth It
Changing dining chair upholstery is budget-friendly, customizable, and shockingly transformative. Whether you choose velvet for a luxe feel, a bold print for personality, or durable outdoor fabric for kid-friendly living, this simple DIY project can completely change your dining room aesthetic.
Once you know how to reupholster a dining chair, you’ll never look at secondhand furniture the same way again. Everything becomes a potential makeover.